Confirm that you have completed the instructions in the step. The step may take time to update; wait for a few minutes to see if it changes. You can also try refreshing the web page a few times.
If the step still does not turn green, please contact us at support@cmu-internet-behavior-research.org.
Click the Windows key on your keyboard (or click on the windows icon in the bottom left corner of your laptop).
In the search bar, type “Thunderbird” and hit enter. Thunderbird should now appear on your screen.
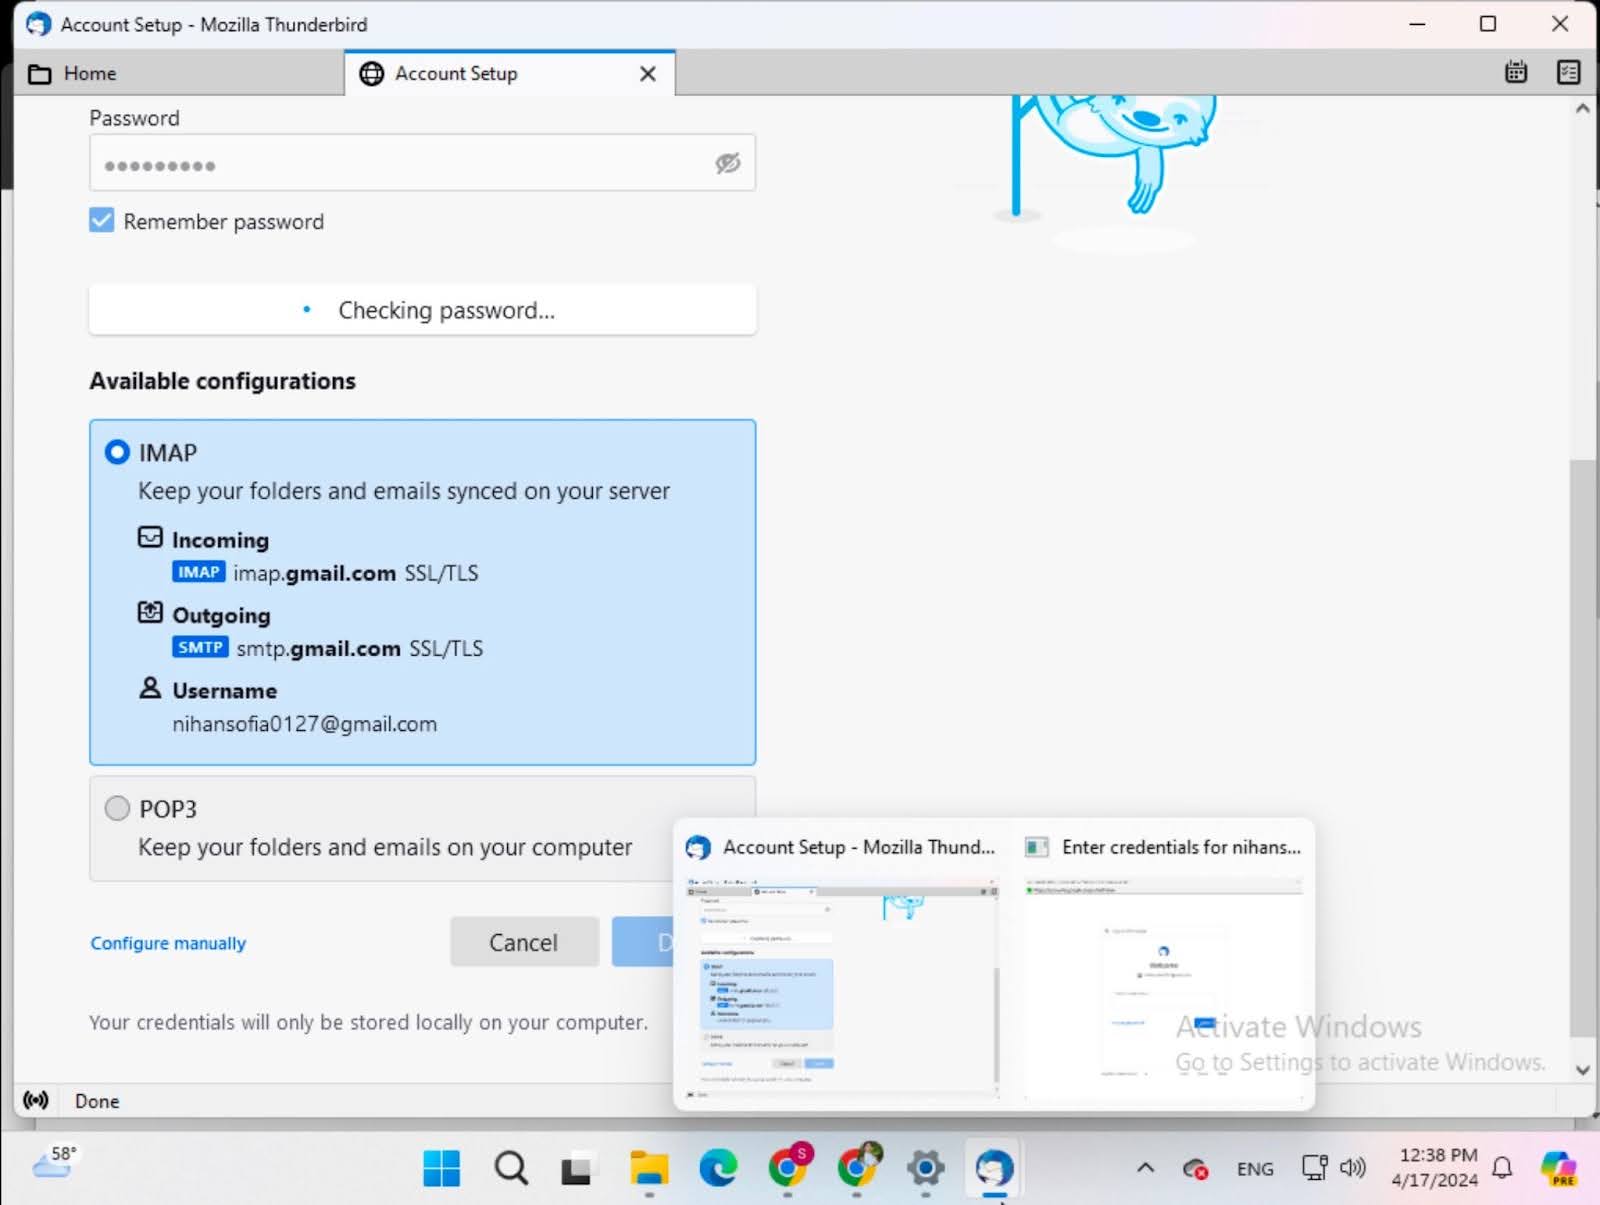
If you see your screen stuck on this after clicking “Done”:
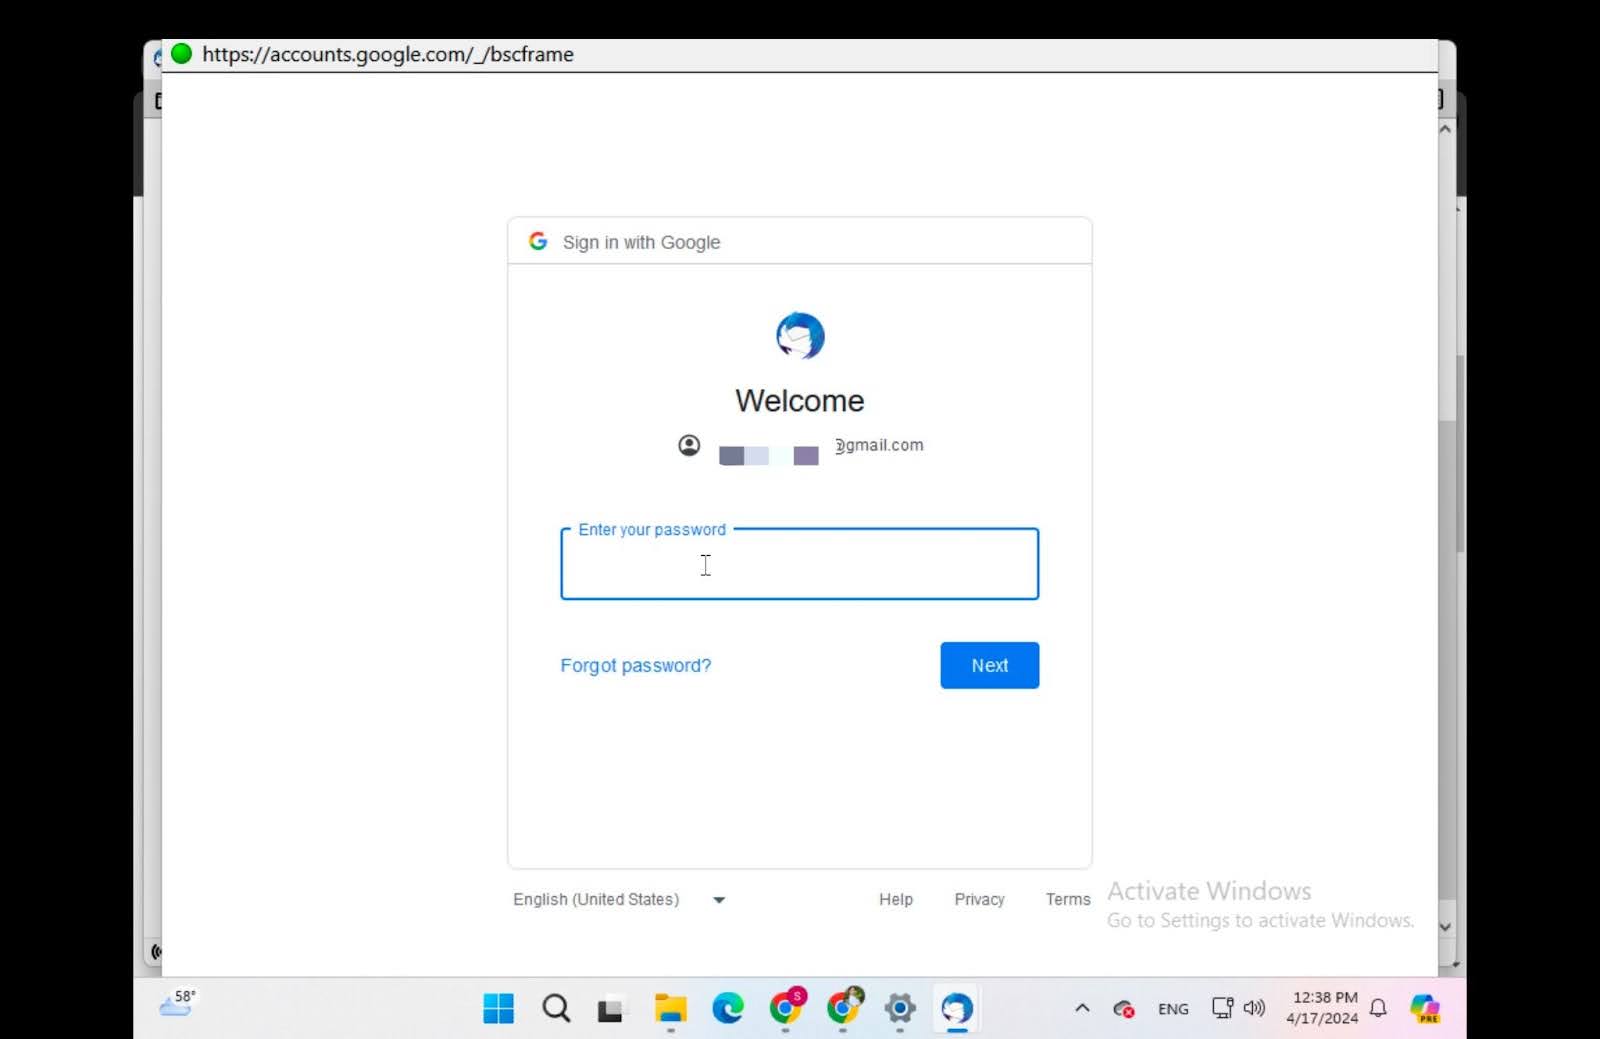
Check if there is a new tab below created. If so, click into the new tab.
You should now be able to log into your email using your password.
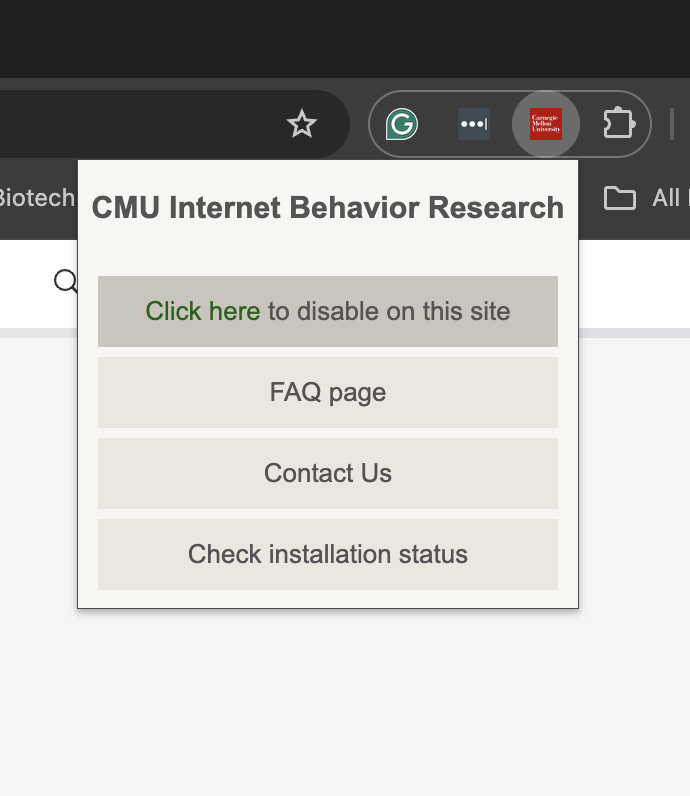
Our extension may block ads or online trackers on a webpage.
To pause the extension on a webpage, click on the extension icon at the top right of the browser and click Disable or Pause extension on this site.
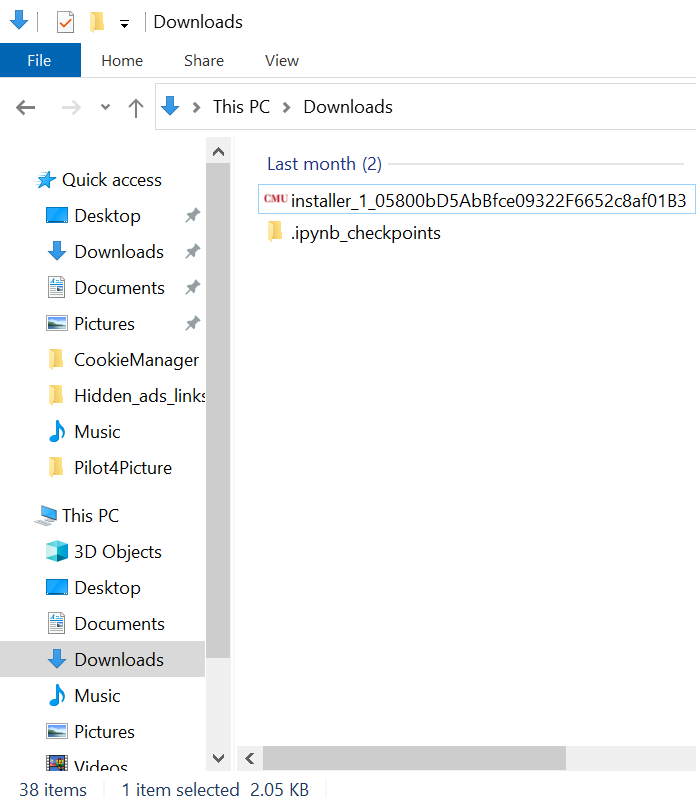
Step 1: Go to the Downloads folder and find the installer with the CMU logo.
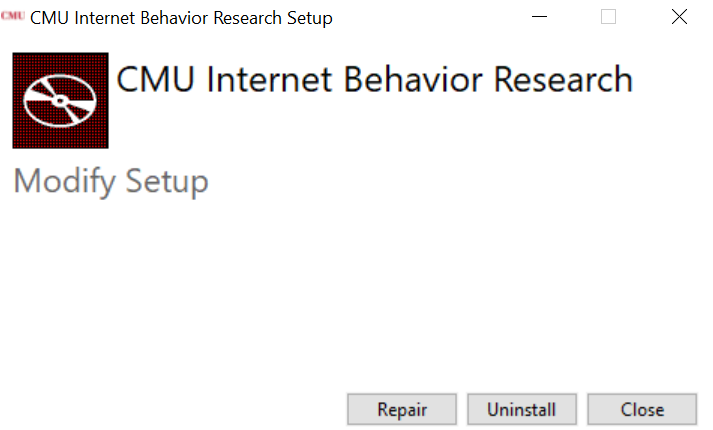
Step 2: Open the installer and click on the Repair button.
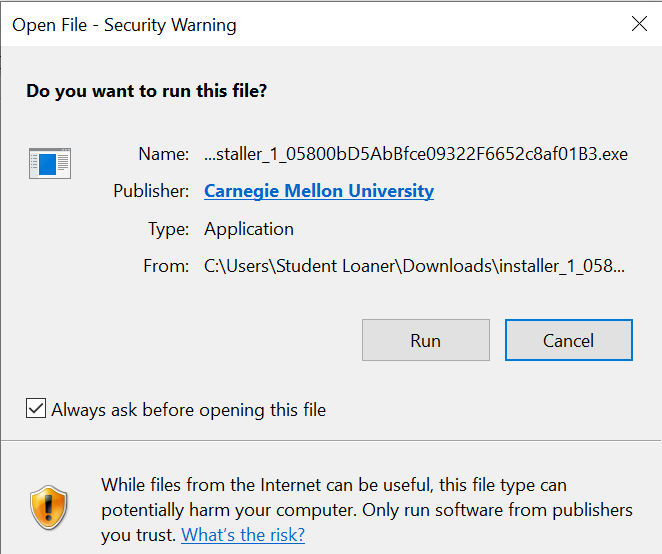
Step 3: If the following window pops up, click on the Run button.
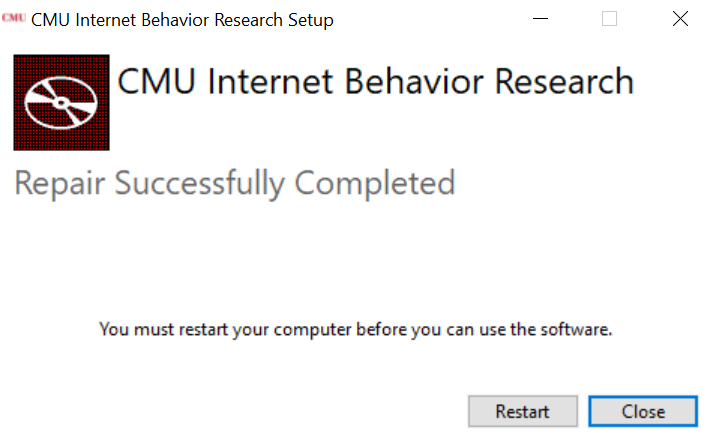
Step 4: Wait for the repair process to finish and then click on the
Restart button to restart the computer.
Step 5: Check to see if the issue is fixed. If not, follow the steps below to reinstall the extension.
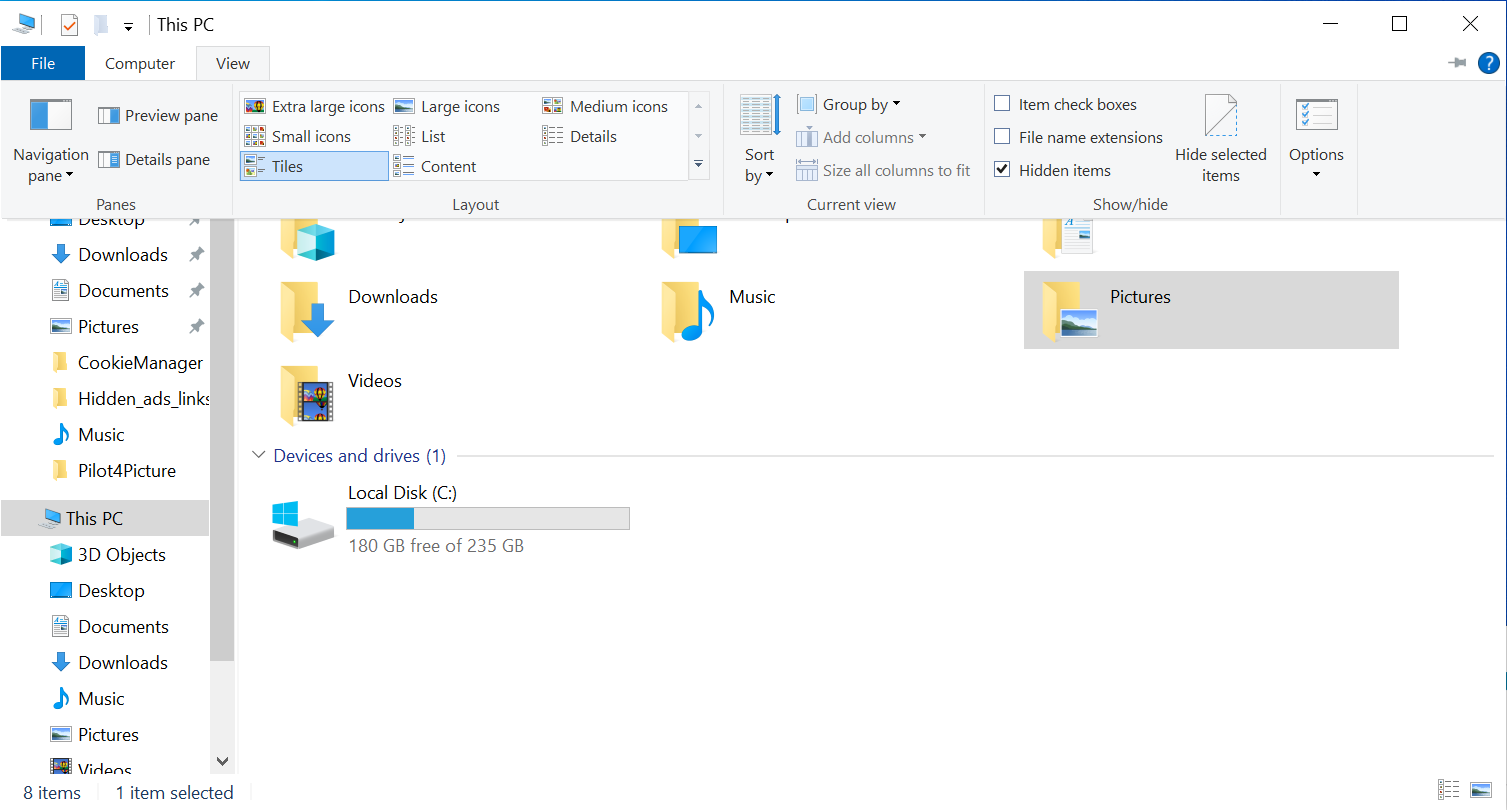
Step 1: Open up the “This PC” folder. Click on the View tab on the top left corner and make sure that the Hidden items box ischecked.
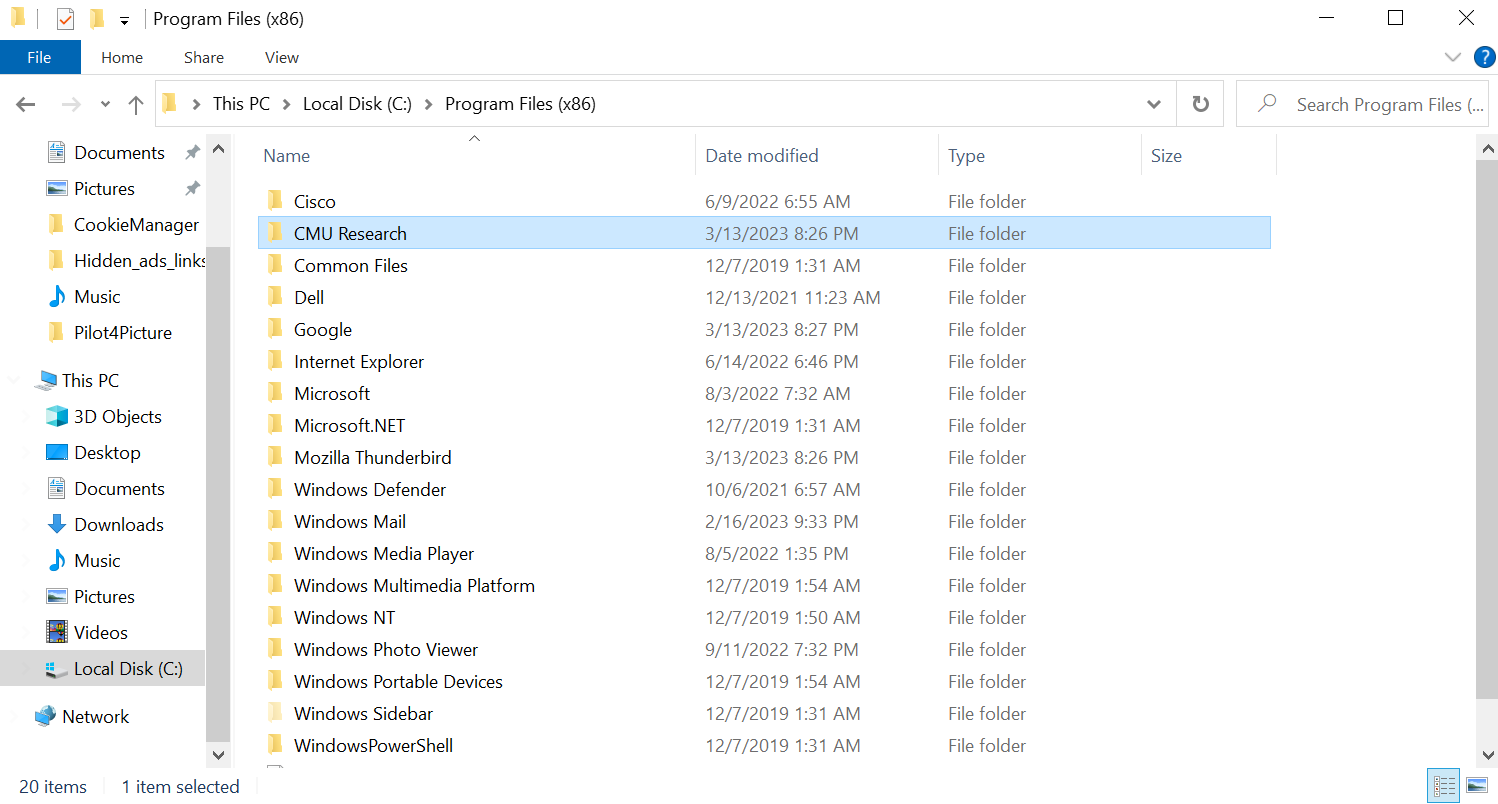
Step 2: Go to Local Disk (C:) / Program Files(x86) and delete the
CMU Research folder by right clicking on the folder and clicking on delete.
Step 3: Go to the Downloads folder and find the installer.
Step 4: Open the installer and click on the Uninstall button.
Step 5: If the following window pops up, click on the Run button.
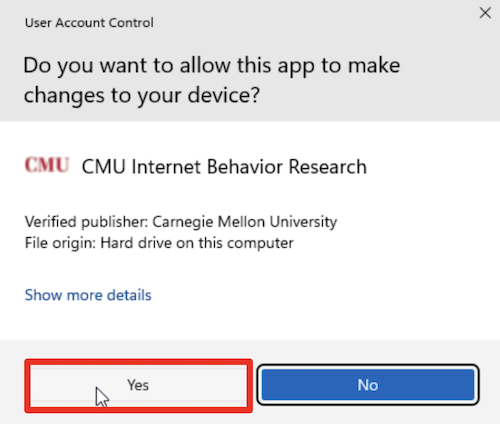
Step 6: If any permission windows pop up like this, select Yes.
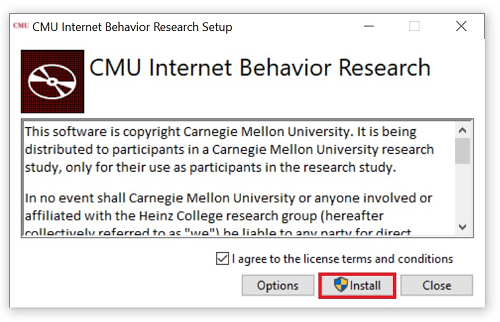
Step 7: Reopen the installer by clicking on the installer in the location identified in the download folder. Then click on the Install button.
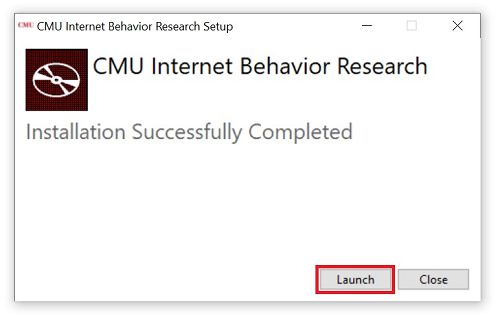
Step 8: Wait until the following window pops up, click on the Launch
button.
Step 9: Set up Thunderbird.
After launching the extension, you should see an application called Thunderbird pop up.
The setup steps will vary depending on your email address.
Please refer to the table below to follow the appropriate instructions based on your email address.
General Emails (gmail, aol, yahoo, .edu emails, etc.)
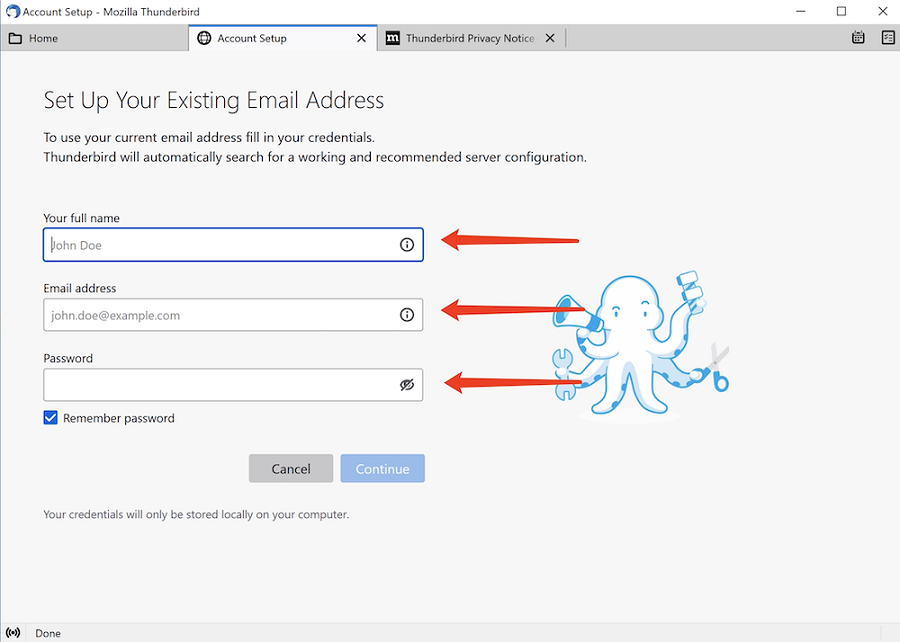
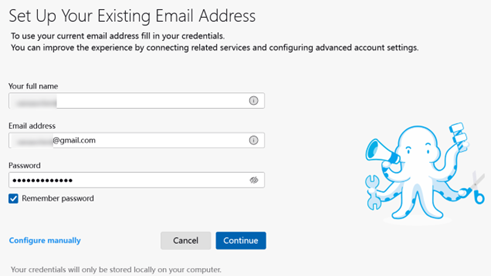
In Thunderbird, input your name, email address, and password for your email address. Then, click "continue."
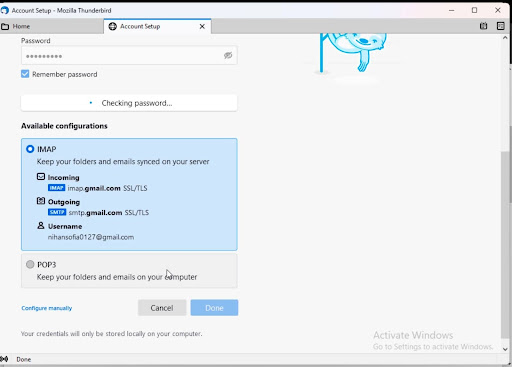
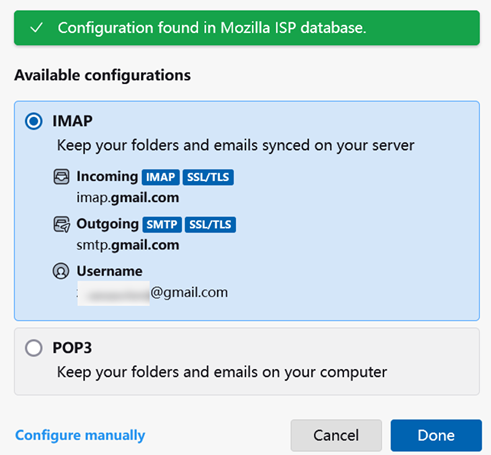
Make sure that the IMAP option is selected, and then click "Done".
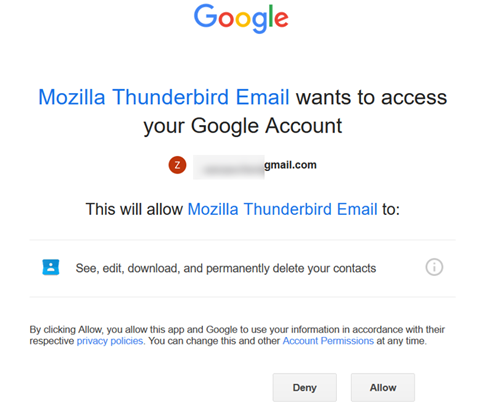
You will be directed to a page by your email address provider that prompts you to login. Input your email and password again, and login (if you are using an educational .edu email, you may need to use 2 Factor Authentication). When prompted to allow Thunderbird to access your account, click "Allow" (example picture below for Gmail).
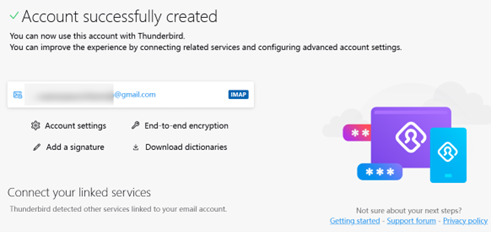
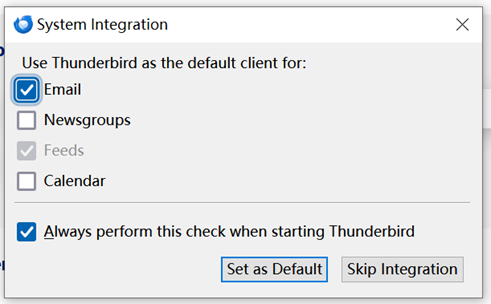
You should be directed to a page that says "account successfully created". Click "Finish" and "Skip Integration", and you should see your emails appearing in Thunderbird.

Outlook (example@outlook.com)
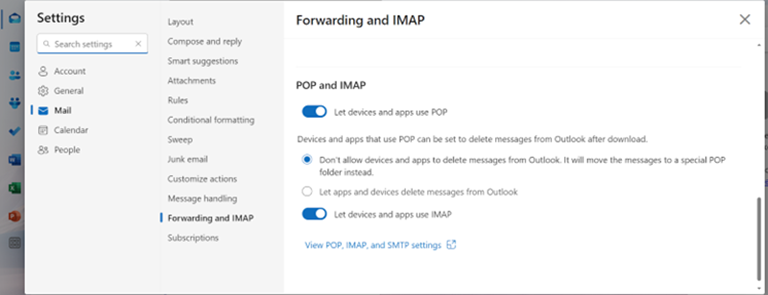
Log in to your Outlook account, and click Settings > Forwarding and IMAP (https://outlook.live.com/mail/0/options/mail/forwarding). Enable the two options that say "Let devices and apps use POP" and "Let devices and apps use IMAP".
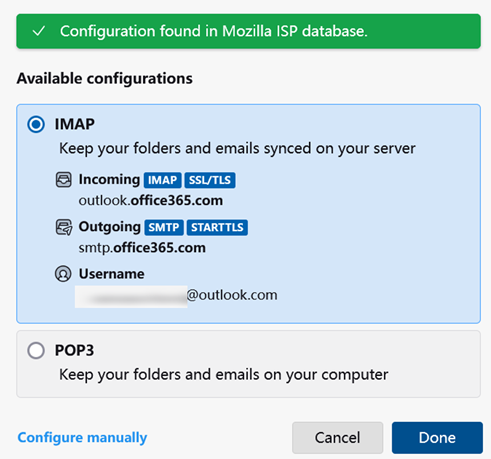
Input your name, Outlook email, and Outlook email password into Thunderbird. Click "continue" and then "done" with IMAP selected (no need to configure manually). If you encounter any difficulties at this stage, 1) double-check that your email address, the name associated with that email address, and your password are inputted correctly and 2) click "manual configuration" on the bottom left and input the settings shown here: POP, IMAP, and SMTP settings for Outlook.com - Microsoft Support.
You should be directed to a page that says "account successfully created". Click "Finish" and "Skip Integration", and you should see your emails appearing in Thunderbird.

iCloud (example@icloud.com)
Enable 2-factor authentication with the Apple Account associated with your iCloud email. You can see how to enable 2-factor authentication here.
Sign in to iCloud and visit https://account.apple.com/account/manage.
Click "sign-in and security" on the left sidebar and then click "app-specific passwords".

Follow the prompts to generate an app-specific password. When it prompts you to choose a name, input something descriptive such as "App-specific password for Thunderbird".

Once you have successfully created an app-specific password, you will be given a 16-character code. Copy this 16-character code.
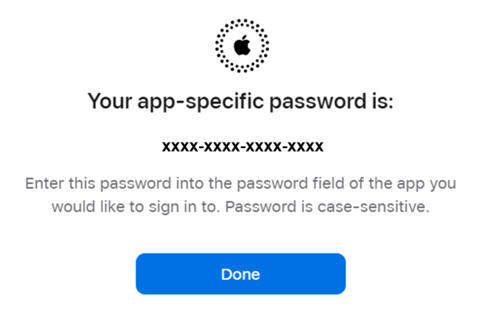
In Thunderbird, log in with your name, iCloud email address, and paste the 16-character code you got before into the password field. Click "continue" and then "done" with IMAP selected. If you encounter any difficulties at this stage, 1) double-check that your email address and the name associated with that email address are inputted correctly and 2) click "manual configuration" on the bottom left and input the settings shown here: https://support.apple.com/en-us/102525.

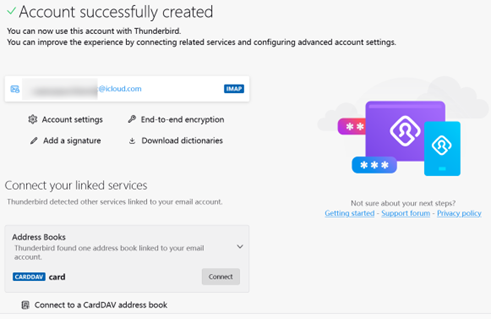
You should be directed to a page that says "account successfully created". Click "Finish" and "Skip Integration", and you should see your emails appearing in Thunderbird.

Note: We will never read, delete, send, or manage your emails; we will only capture metadata and extract
purchase data as described in the Consent form. We will never see or receive your passwords and account names;
they remain only on your computer.
Note: A Thunderbird app shortcut will be placed on the desktop once installation is complete. You may
remove the icon from the desktop, but do not uninstall the app. You do not need to open or use Thunderbird while
in the study. It simply runs in the background to perform research data collection.